Homemade Ice Fishing Tip-up
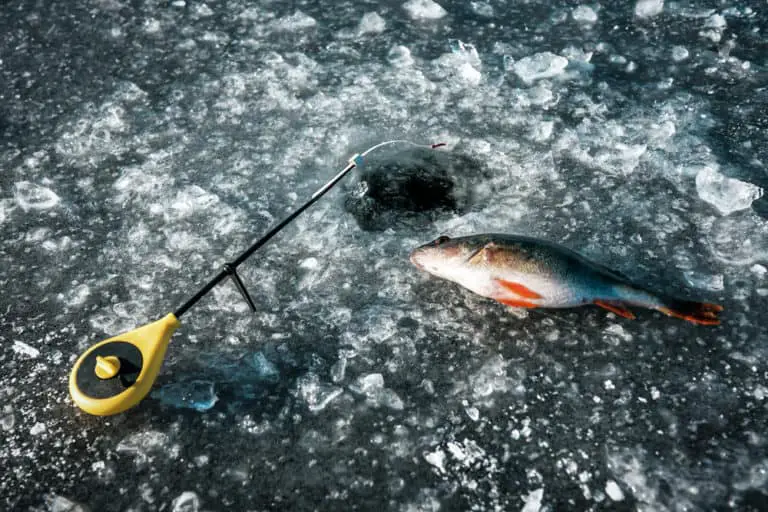
A tip-up is a mechanism that is used in ice fishing. It helps to keep the bait suspended at a set depth underneath the ice. An ice fishing tip-up can be used to detect when a fish hits the bait, without the fisherman having to touch the line.
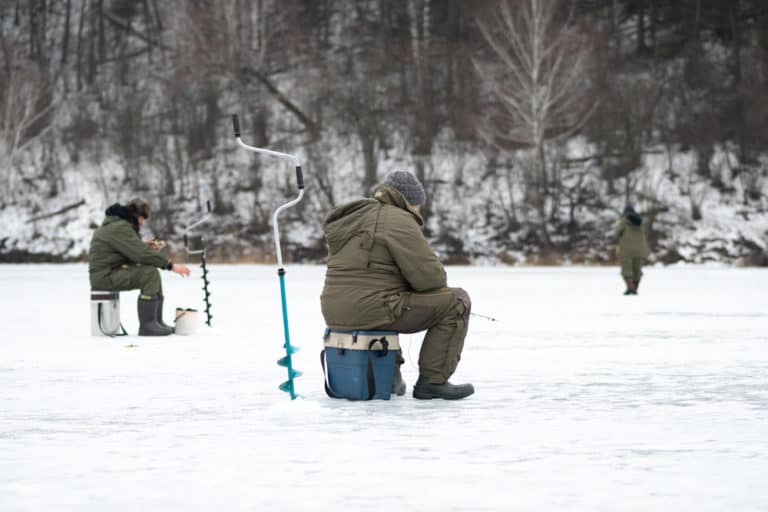
You must use an auger to make a hole in the top layer of ice, through which to thread the tip-up. The benefit to using tip-ups is that you can cover a much larger area than if you need to monitor each line constantly. They allow you to make multiple holes in the ice and keep an eye on all of them at the same time.
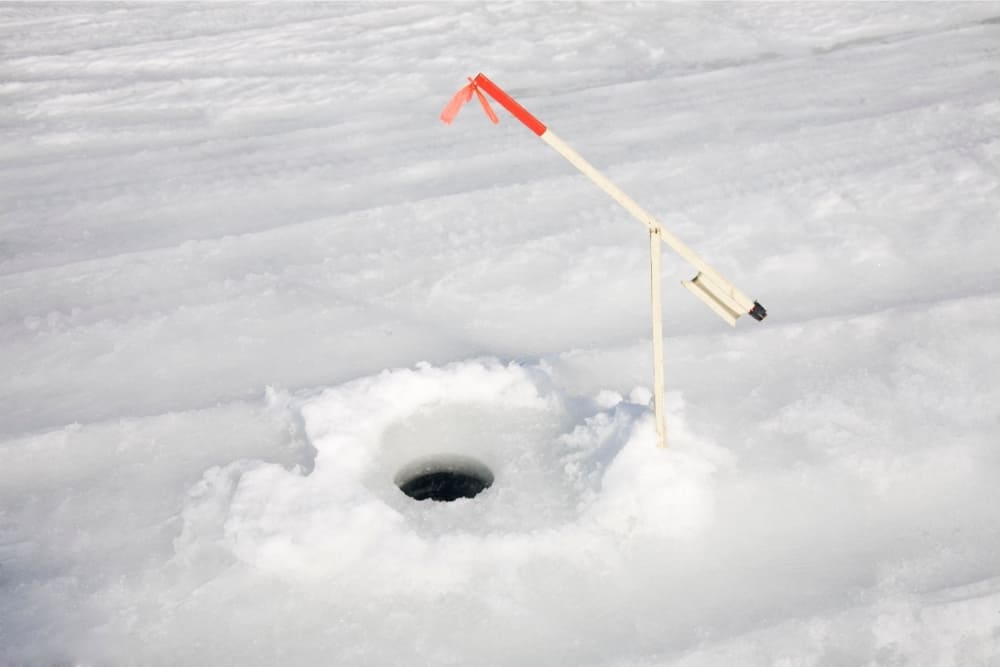
When the fish takes the bait, the flag will tip up or tip down to send a signal to the angler. This signal can be seen from a fair distance, showing how advantageous they can be.
How to make an ice fishing tip-up out of wood
Tip-ups are surprisingly simple to craft at home. There are many available online but they can be quite expensive. The cheaper options tend to be poorly crafted and will break imminently. It is very cheap and simple to make your tip-ups from wood. The method below will only cost you about $2.25 per tip-up.
What do you need?
You will need 3 planks of wood per tip-up. These should be 18 inches long and half an inch wide and thick. You will need 2 #4 1.5 inch machine screws, 2 #4 wing nuts, a #6 2 inch screw, and a #6 nut. You will also need a #4 half-inch machine screw (the type you would see switch plates secured with).
You should also find the largest bike spokes you can and a ¼ inch diameter hosepipe. You will need a half-inch wire staple, some electrical fish tape, duct tape, and 2 old CDs. As well as this, find ¼ PVC pipe, PVC glue, a sheet of ⅛ PVC, brightly colored pony beads, hooks, and a line.
In terms of equipment, you will need a table saw, a chop saw, a wire staple gun, a drill, and assorted bits. You should also have a hammer, wire cutters, a screwdriver, and pliers.
How do you make tip-ups from wood?
The first thing you need to do is cut your wood to shape if it is not already. You should then remove all of the spokes from the old bicycle wheel.
Use your pliers to grasp the spoke about 1 ¼ inch from one end. Bend this to form an L-shape. Hold the spoke just above the bend you have just made, and bend the spoke 90 degrees in the opposite direction. This will form an S-shaped bend.
Grab the opposite, unbent end of the spoke with the pliers. Bend the long end down, so that the bend is at 90 degrees from the other 2 bends. The wire should not lie flat when placed on a table. This is the C-bend.
Grab a 9/64 drill bit and make a hole in the CD about ¼ inch in from the edge. Insert one of the #4 screws into this hole.
Cut the 1 ¼ PVC pipe into ¾ lengths. Try to keep the cut as straight and clean as possible.
Cut circles out of the ⅛ inch PVC using a drill press and hole saw. These should fit snugly into the pipe you have cut. Glue the PVC hole onto the CD, using the clear circle in the center as a guide. Once this has dried, glue a CD onto each end of the pipe sections. Ensure the screws are facing outwards.
Drill a hole in the center of the reel, large enough to fit a #6 screw. This should be a loose fit, to allow the reel to turn.
Drill a 9/64 hole through the center of 2 sticks. Place one aside and line up the remaining 2 so that the undrilled stick hangs 1 ¼ inch off the end of the other. Make a mark an inch to the left of the initial hole and drill through. One stick should now have 2 holes about an inch apart. Set this aside.
Drill an 11/64 hole in your third stick, about an inch from the side with the overhang. Make a 3/32 hole for the wire staple half an inch from the same edge.
Grab the first and second sticks. Attach them through the center hole using a 1 ½ inch screw.
Place the larger screw through the hole in the reel, ensuring it points in the same direction as the screw on the wheel. Attach 2 pony beads to the screw and screw it into the hole on your third stick. Secure with a nut, ensuring there is room for movement.
Place the trigger wire on the 3rd stick so the S-bend catches on the small screw, and the C-bend is over the 3rd hole. Use your wire staple to staple the trigger wire above the S-bend.
Attach the flag wire to the opposite side and staple at ½, 1, and 1 ½ inch intervals.
Remove the insulation from the wire staple and thread it through the small top hole at the side of the reel. Bend with a hammer to keep it in place.
Attach all of the sticks with the last screw through the remaining holes. The wing nut should be on the reel side.
Add 2 inches of colorful tape to the top of the flag wire, and then add the fishing line, hook, and weight.
How do you make a tip-up flag?
There are many different ways to make an ice fishing tip-up flag. One of the easiest and most popular is to cut a small piece of brightly colored felt and decorate accordingly.
You could use colorful plastic, vinyl, or any kind of stiff and durable material. You could even cover a cardboard triangle in electrical tape to make it more visually bold.