Crappie Jig Tying Patterns
Table of Contents
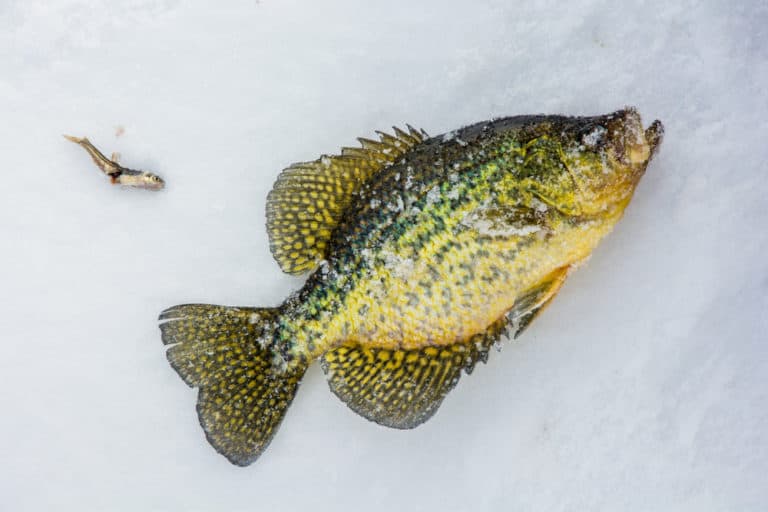
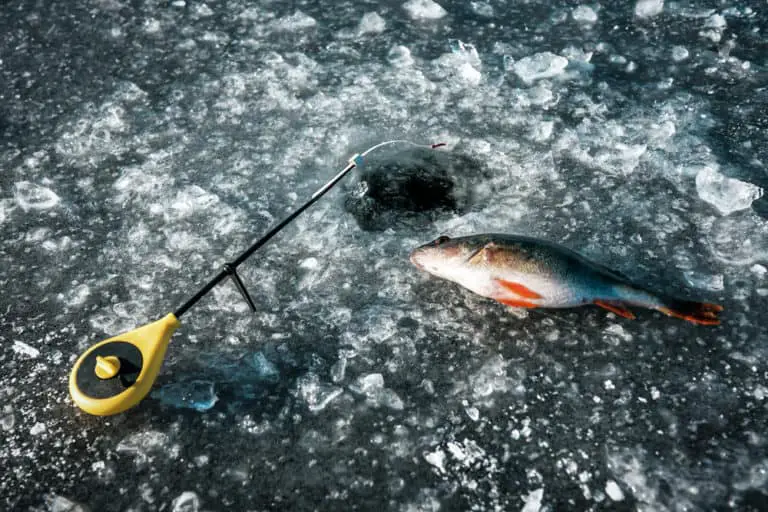
Two Killer Crappie Tying Jig Patterns (For Clear and Murky Waters)
Jigs are a fantastic way to approach fishing for crappie. They just love the natural movement in the water. They can’t help but have a nibble.
However, jigging for crappie isn’t always a successful endeavor. Very small variations in the tie pattern can determine whether you’re coming home with a cooler full or completely empty-handed.
Why are crappie so picky when it comes to the pattern? Well, for one thing, their eye-to-body ratio is way more eye-heavy than any of their panfish pals, so their vision is second to none.
They can see every little detail of your elaborate jig decoration, so it takes an extra special tying pattern to convince them to leave their shelter and chow down.
So, to help you boost your crappie catch rate, I thought it’d be a great idea to give you a couple of examples of dynamite crappie jig tying patterns.
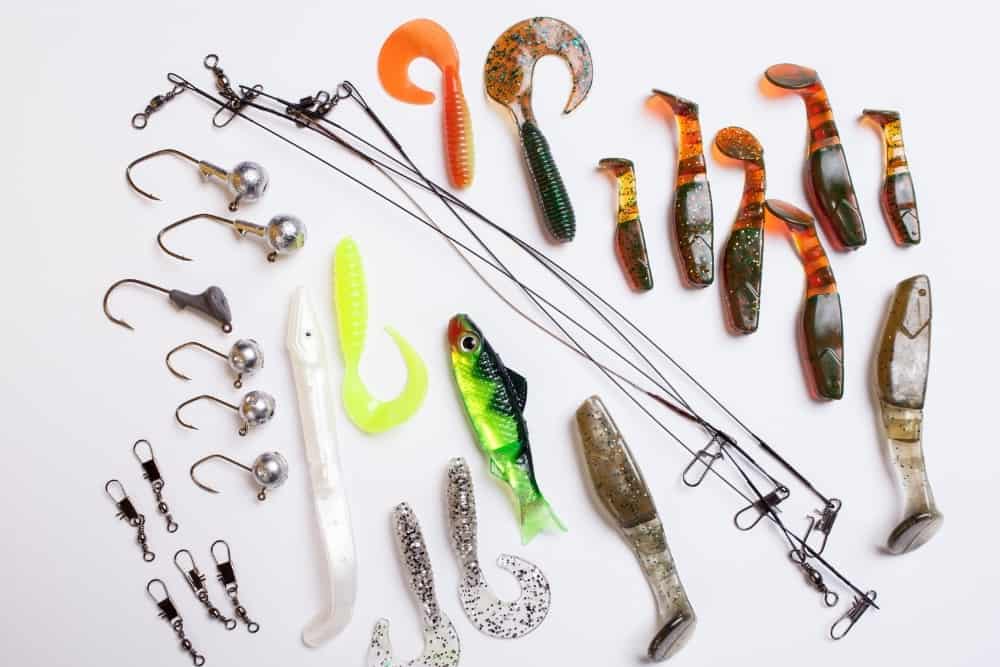
What Do You Need for Crappie Jig Tying?
- A plain hook and jig – In order to decorate your jig, it needs to be bare to start with, so look around for a real plain-Jane. I’d recommend investing in something like this Merlaxy jig set, as it gives you a bunch of options in terms of head color.
- A tying tool – You don’t absolutely need a tying tool, but it makes the whale process a lot less fiddly, so I wouldn’t get started without one. This Creative Angler Bobbin Fly Fishing Tying Tool is perfect for the job, and it’s reasonably priced too.
- A whip finisher – These awesome little tools finish off your knot quickly and securely.
- Some decorative materials – If you’re going to disguise your jig as a tasty snack, you’ve got to get creative with materials. You can purchase entire jigging starter kits that arrive with a bunch of different feathers, marabous, and dubbing, or you can simply buy your materials individually.
- Scissors – Y’all know what scissors do.
- Superglue – You’ll need a dab of glue to ensure everything stays together in the water.
- A vice – I can’t speak highly enough of the Griffin Odyssey Spider Fly Tying Vise. It’s great value for money, and it’s every bit as functional as other more expensive options.
- And finally, some thread – Something like this 12 color set will last you for ages.
Crappie Jig Tying Pattern 1 – Murky Waters
For this simple, yet deadly tying pattern, you’ll need a jig with a hot pink head and a size four hook. For decoration, you’ll need white thread, a chartreuse marabou, and a length of crystal flash chenille.
Step 1
Prepare your jig in the vice and your thread on the tying tool, then loose around 6cm of the white thread to hold in your stationary hand.
Now use your other hand to wrap the thread on the jig. Start the wrap just before the head, making sure to catch the loose 6cm as you go.
After about 13 rotations, you should have wrapped to just beyond the colored portion of the jig. Now your loose thread is mostly tied down, so feel free to let go.
Snip the excess, then apply a few more rotations of thread until you reach the first bend in the hook.
Step 2
Take your chartreuse marabou, and place it so the tips of the feather extend around a cm beyond the bottom curve of the hook, then proceed to wrap the thread back towards the head, locking the feather in place.
Keep winding the thread, and once you reach the head of the jig, trim the excess marabou. This will cause the feather to fray, so you’ll need to keep on winding in order to neaten it up.
Once the fibers are under control, start winding back towards the tail of the hook. Try to prevent any of the marabou from bulging.
Step 3
Secure the end of your crystal flash chenille onto the jig just before the bend of the hook, then place your tying tool down, and wind the chenille back along the jig towards the head.
Next, tie the chenille down at the head with about three rotations of thread, then apply one rotation ahead of the loose end of the chenille. This holds it in place so you can trim it down.
All there is to do now is a few more rotations with your whip finisher to tame the trimmed chenille and finish your knot.
Step 4
Apply a little bit of superglue around the base of the head to secure your knot.
Crappie Jig Tying Pattern 2 – Clear Waters
For this pattern, you’ll need a 1/100oz jig hook with a deep green head, black 8/0 uni thread, olive and black two-tone rabbit fur, and micro-size olive ultra chenille.
We’re going to be using the exact same tying technique as we did in the first example.
Step 1
Loose some thread to hold as you start winding it around the jig from the head down towards the bend in the hook. Cut the excess and secure the trimmed end with a few more rotations.
Step 2
Take a pinch of two-tone rabbit fur and secure it from the bend in the hook, gradually winding back towards the head, securing the excess, then wind back to the hook, ensuring everything is as neat as possible.
Step 3
Just like in the first example, secure the end of your chenille at the bend of the hook with a few rotations of thread, then proceed to wind the chenille towards the head, making sure there are no glaring gaps.
Secure the chenille at the head with a few rotations of thread, with the last rotation falling in front of the excess chenille, so it will hold steady as you trim it down.
Step 4
Secure the frayed end of the trimmed chenille, then use your whip finisher to finish your knot.
Step 5
Apply glue just beneath the head to ensure it can handle the rough and tumble of the water and any obstacles, and voilà; you’re done!
Summing Up
There you have it, anglers. People have been reporting huge success with these two crappie jig tying patterns.
The first, with its bright colors and sparkly chenille, is the perfect pattern to grab the attention of crappie through dark, muddy waters, while the more natural, low-key colors of the second are all you’ll need for clear water crappie jigging. Enjoy!
![7 Best Ice Fishing Bibs [Reviews & Buyers Guide]](https://watersportingadventure.com/wp-content/uploads/2020/10/Ice_fishing_December_Zanderland_Finland-e1606491519613.jpg)