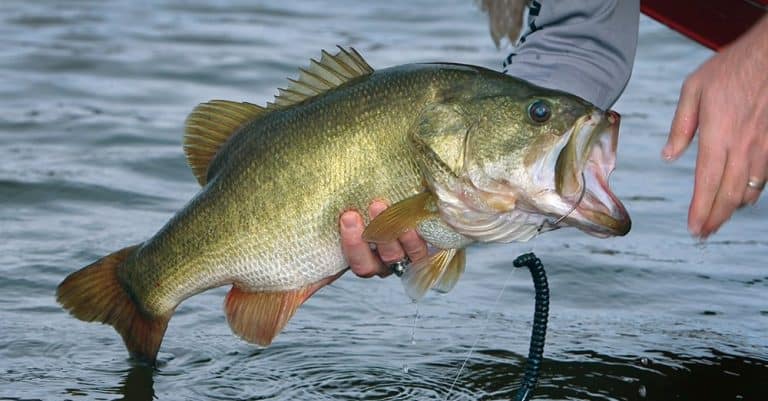
How To Tie A Crappie Jig
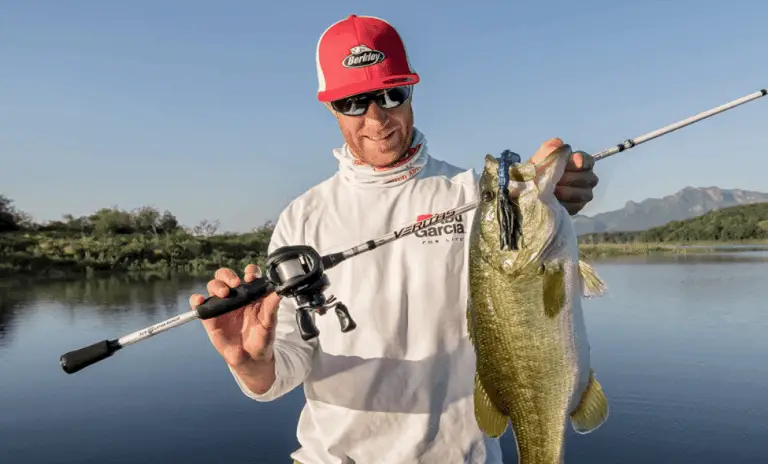
Whether you’re new to the world of fishing or being an angler is in your blood, a crappie jig is one of the most versatile tools that you can have in your fishing arsenal.
Besides being affordable and convenient to carry, crappie jigs can serve a multitude of different purposes, including tight-lining, slip floating, casting, and more.
Below, we’re going to be talking you through some of the most common ways that you can tie your crappie jig, as well as step-by-step instructions on how to properly do it. Let’s take a look:
How to tie a double hook rig for crappie
One of the most common ways that many fishing anglers choose to tie their crappie jig is via the double hook method. This type of tie usually consists of two jigs and either one in-line or a 3-way swivel, as well as a barrel sinker. It is the most commonly used rig when fishing anglers are spider-rigging for crappie.
Here’s how to tie a double hook rig for crappie:
- First things first, take your chosen line and tie your first jig onto the line, with whichever knot you usually opt for. Then, once you have tied your first jig, trim the tag.
- After you have done this, take both of your fingers and pull out around 12-18 inches of line, as this is the optimum amount of space between the jigs.
- Then, pinch the line and make a loop, making sure to flatten it out so that the jig can slide on easily.
- Grab your second jig, and then insert the loop through the eyelet of the jig. Wrap the loop around your finger and pull the loop around. Separate the loop with your two fingers, grab with your pinkie and pull the jig all the way through.
- Then, you will be able to cinch the knot tightly to the jig, which will secure its place on the line.
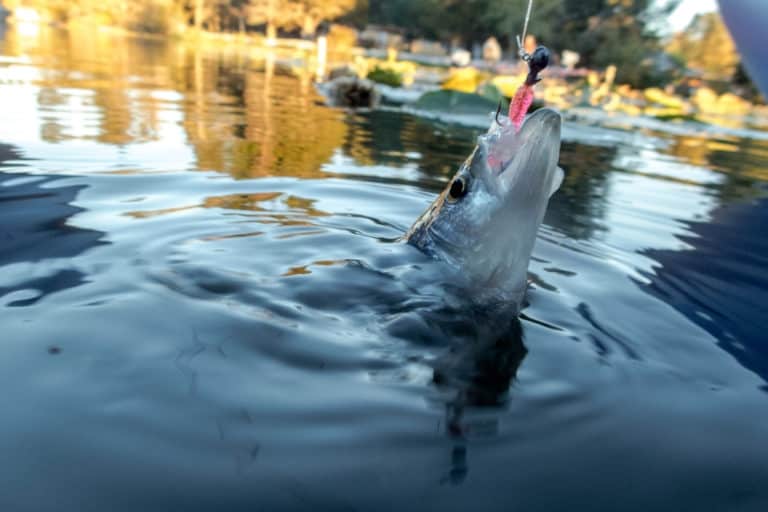
As a side note, the key to this type of tie is making sure that the two jigs are both lying horizontally on the water, as this will make them look the most natural and appealing to the crappie.
So, in order to ensure that both jigs do this, remember to make sure that you are tightly cinching the knots.
How to tie a double Crappie jig
Another way that you can choose to tie your crappie jig is via a double crappie jig knot. This is super simple to tie your crappie jig and can be applied to a variety of different fishing situations.
Check out the steps below to try it for yourself:
- Take one end of your line and tie a jig on the end of it, just in the way you normally would. Once you have tied your jig to one end of the line, make sure that you trim any excess tag.
- Once you have done this, take both fingers and pull around 18 inches of line, as this will help to create enough space between the two jigs that you tie onto the line.
- Make a loop, and then proceed to flatten out the line so that you can easily attach the second jig. Take your second jig, and then insert the loop through the eyelet of your chosen jig. Wrap the loop around your finger and pull it to fasten, and then separate the loop with your finger and pull the jig through.
- Then, pull the knot tight to the jig, and inspect the jig for any issues. Then, it will be ready for use!
How to tie a bucktail crappie jig
If you would like to save some money and make some of your own lures, then it is possible to do this – and save yourself from breaking the bank, in the process! If you would like to learn how to tie a basic and simple bucktail jig, then just follow the step-by-step instructions below:
- First things first, you are going to need to begin by wrapping the base. To do this, mount a vise onto the edge of a flat surface, and then carefully take the hook area of your jig’s head and place them into the vise clamps. All the while, make sure that the jook is facing in a downward direction, otherwise, you may be unable to wrap the base correctly.
- Once you have wrapped the base, proceed to take the tail and pull it towards the top of the jig and away from the hook. To do this, take the working thread, wrap it carefully up the jig, and then stop at the base of the jig’s face. Then, wrap it once again.
- After you have done this, take small scissors and then cut the tail end of the thread, making sure that you do not touch the working thread. Now, you will be ready to attach your bucktail!
- With your chosen bucktail, pinch the small bit of fur around the edge of the tail and cut it down to the hide. Then, place it over the top of the jig and wrap it tightly around the thread. Make sure that you are wrapping your bucktail around the thread around 4 to 5 times, to make sure that the bucktail has been firmly fastened to the jig.
- After you have done this, cut and trim another tuft of fur from your bucktail. Rotate your jig and tie it directly to the side of the jig, and then use the same technique as you did the first time.
- Once you have done this, you should then take a few moments to examine your bucktail jig and make sure that everything is good to go. If there are any gaps in the fur, just proceed to take some extra thread and wrap it around the tufts of fur that are sticking out, as this will securely fasten them in place when they hit the water.